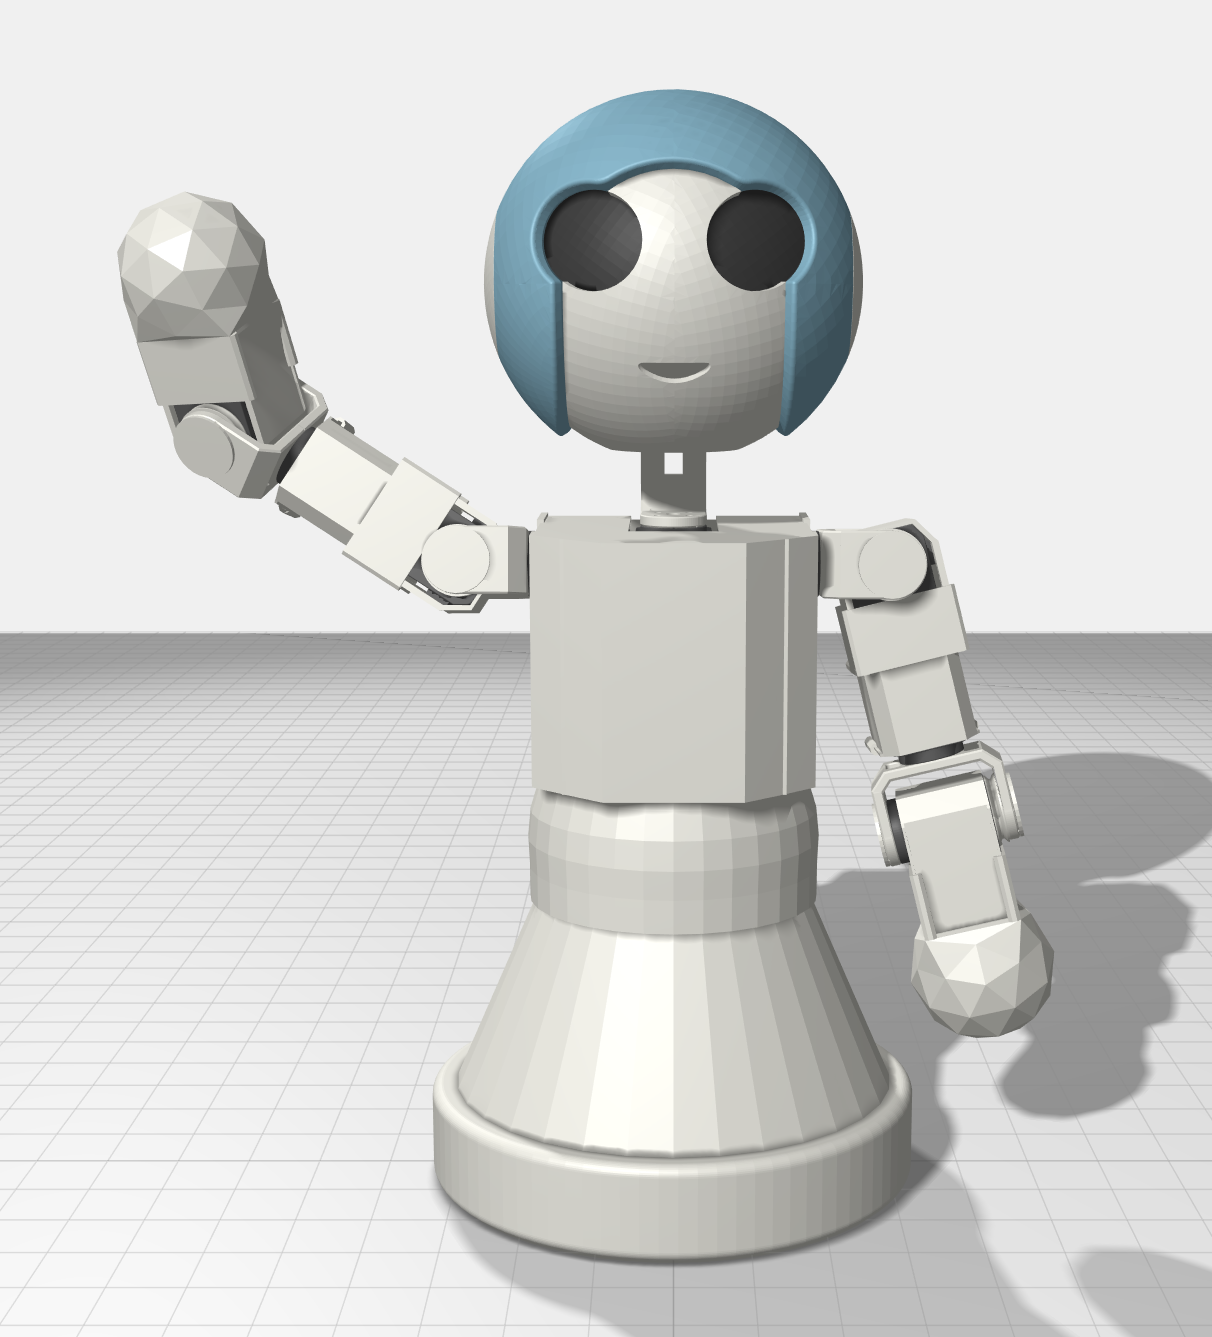
A robot for making human gestures legible in motion.
gestureBot is a semi-humanoid research and education platform. It turns gestures stored as Labanotation keyframes into coordinated movement on either a browser model or a physical desktop robot.1
From notation to coordinated servo movement.
A simplified engineering map of the documented control chain. It is a reading aid, not an official mechanical drawing.
The core physical stack.
Official parts listProvides powered USB connectivity between the host PC and robot electronics.
Build a physical gestureBot in 10 guided sessions
SauceSnap has reorganized the official construction sequence into a scan-friendly build path. The source material remains credited to Microsoft and covered by the project's MIT License.24
- x64 Windows PC
- USB 3 port
- Desktop FDM 3D printer
- PLA filament
- The purchased and printed parts listed in the official guide
- Wire stripper / cutter
- Small Phillips screwdriver (PH0)
- Small flat-blade screwdriver (2 mm)
- Pen and light-colored tape for servo labels
- Needle-nose pliers and a rivet tool (optional)
Use light hand pressure when driving screws or handling printed plastic parts. The official guide warns that tool leverage can crack parts or strip plastic threads.
 Official project image · MIT
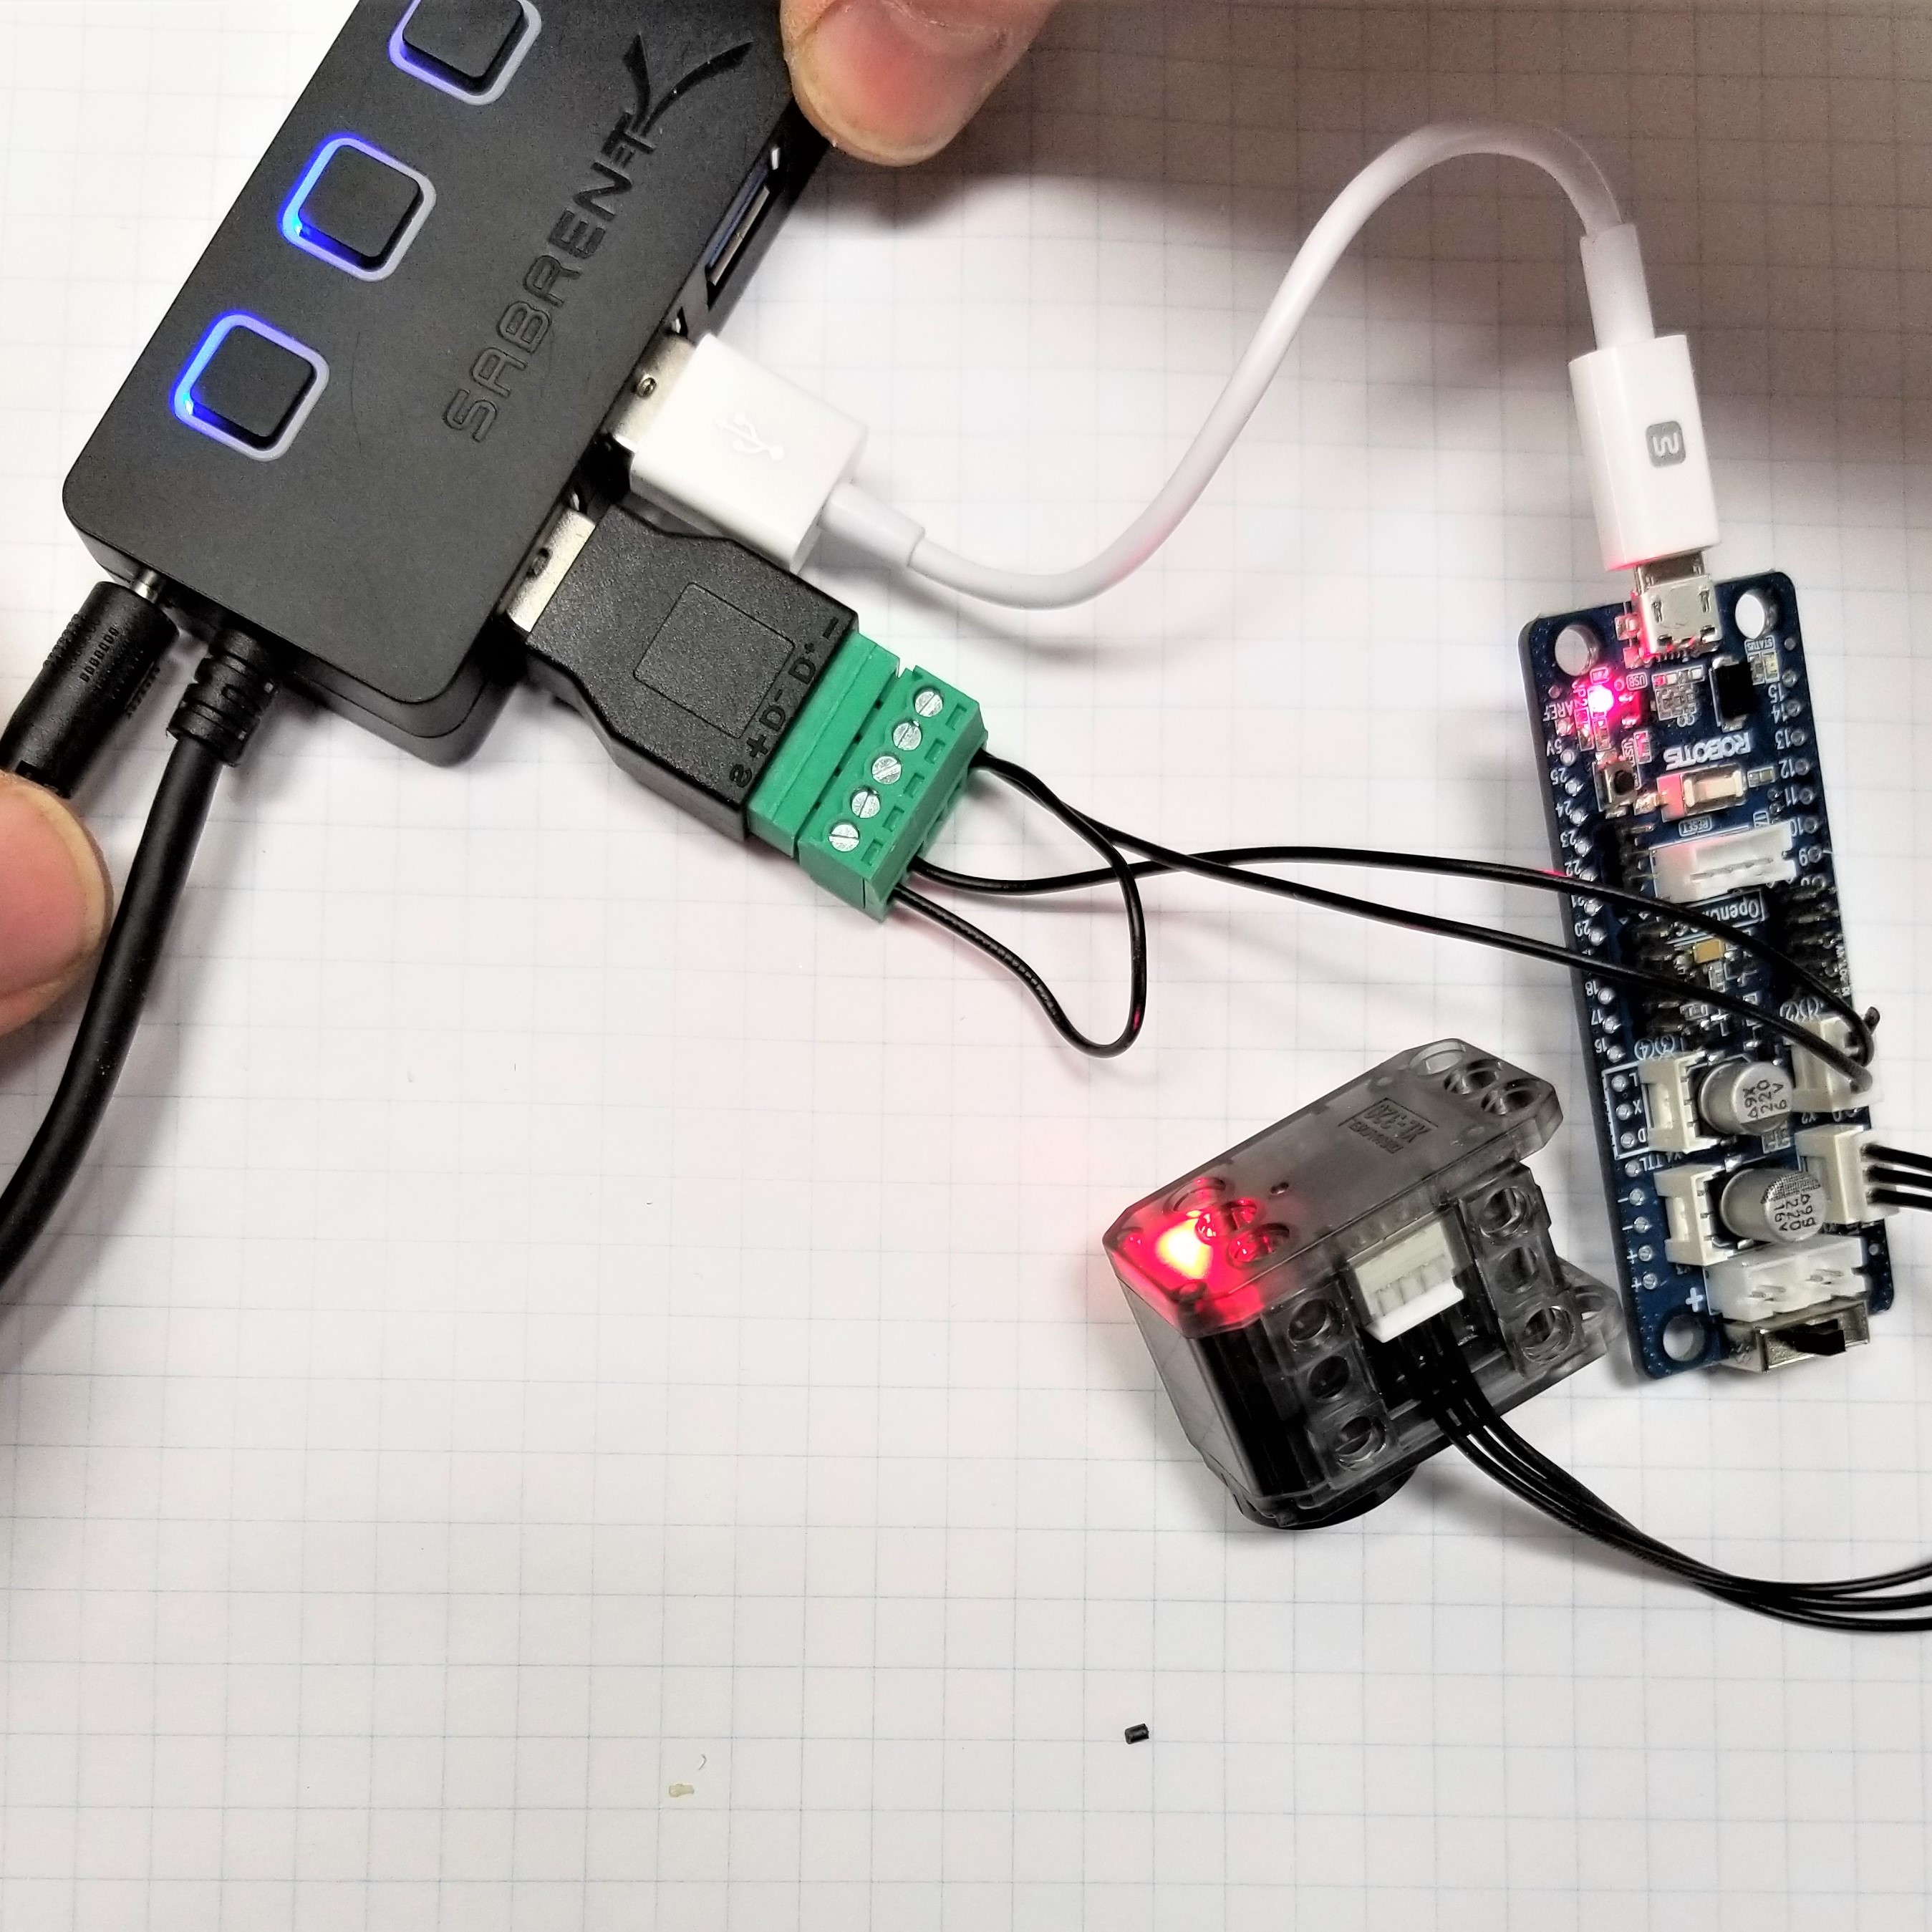
Set up the servo controller electronics
Begin printing the base frame while connecting the controller, powered USB hub and a single servo.
- Start printing the base frame
- Prepare the servo connection cable
- Connect the controller and powered USB hub
 Official project image · MIT
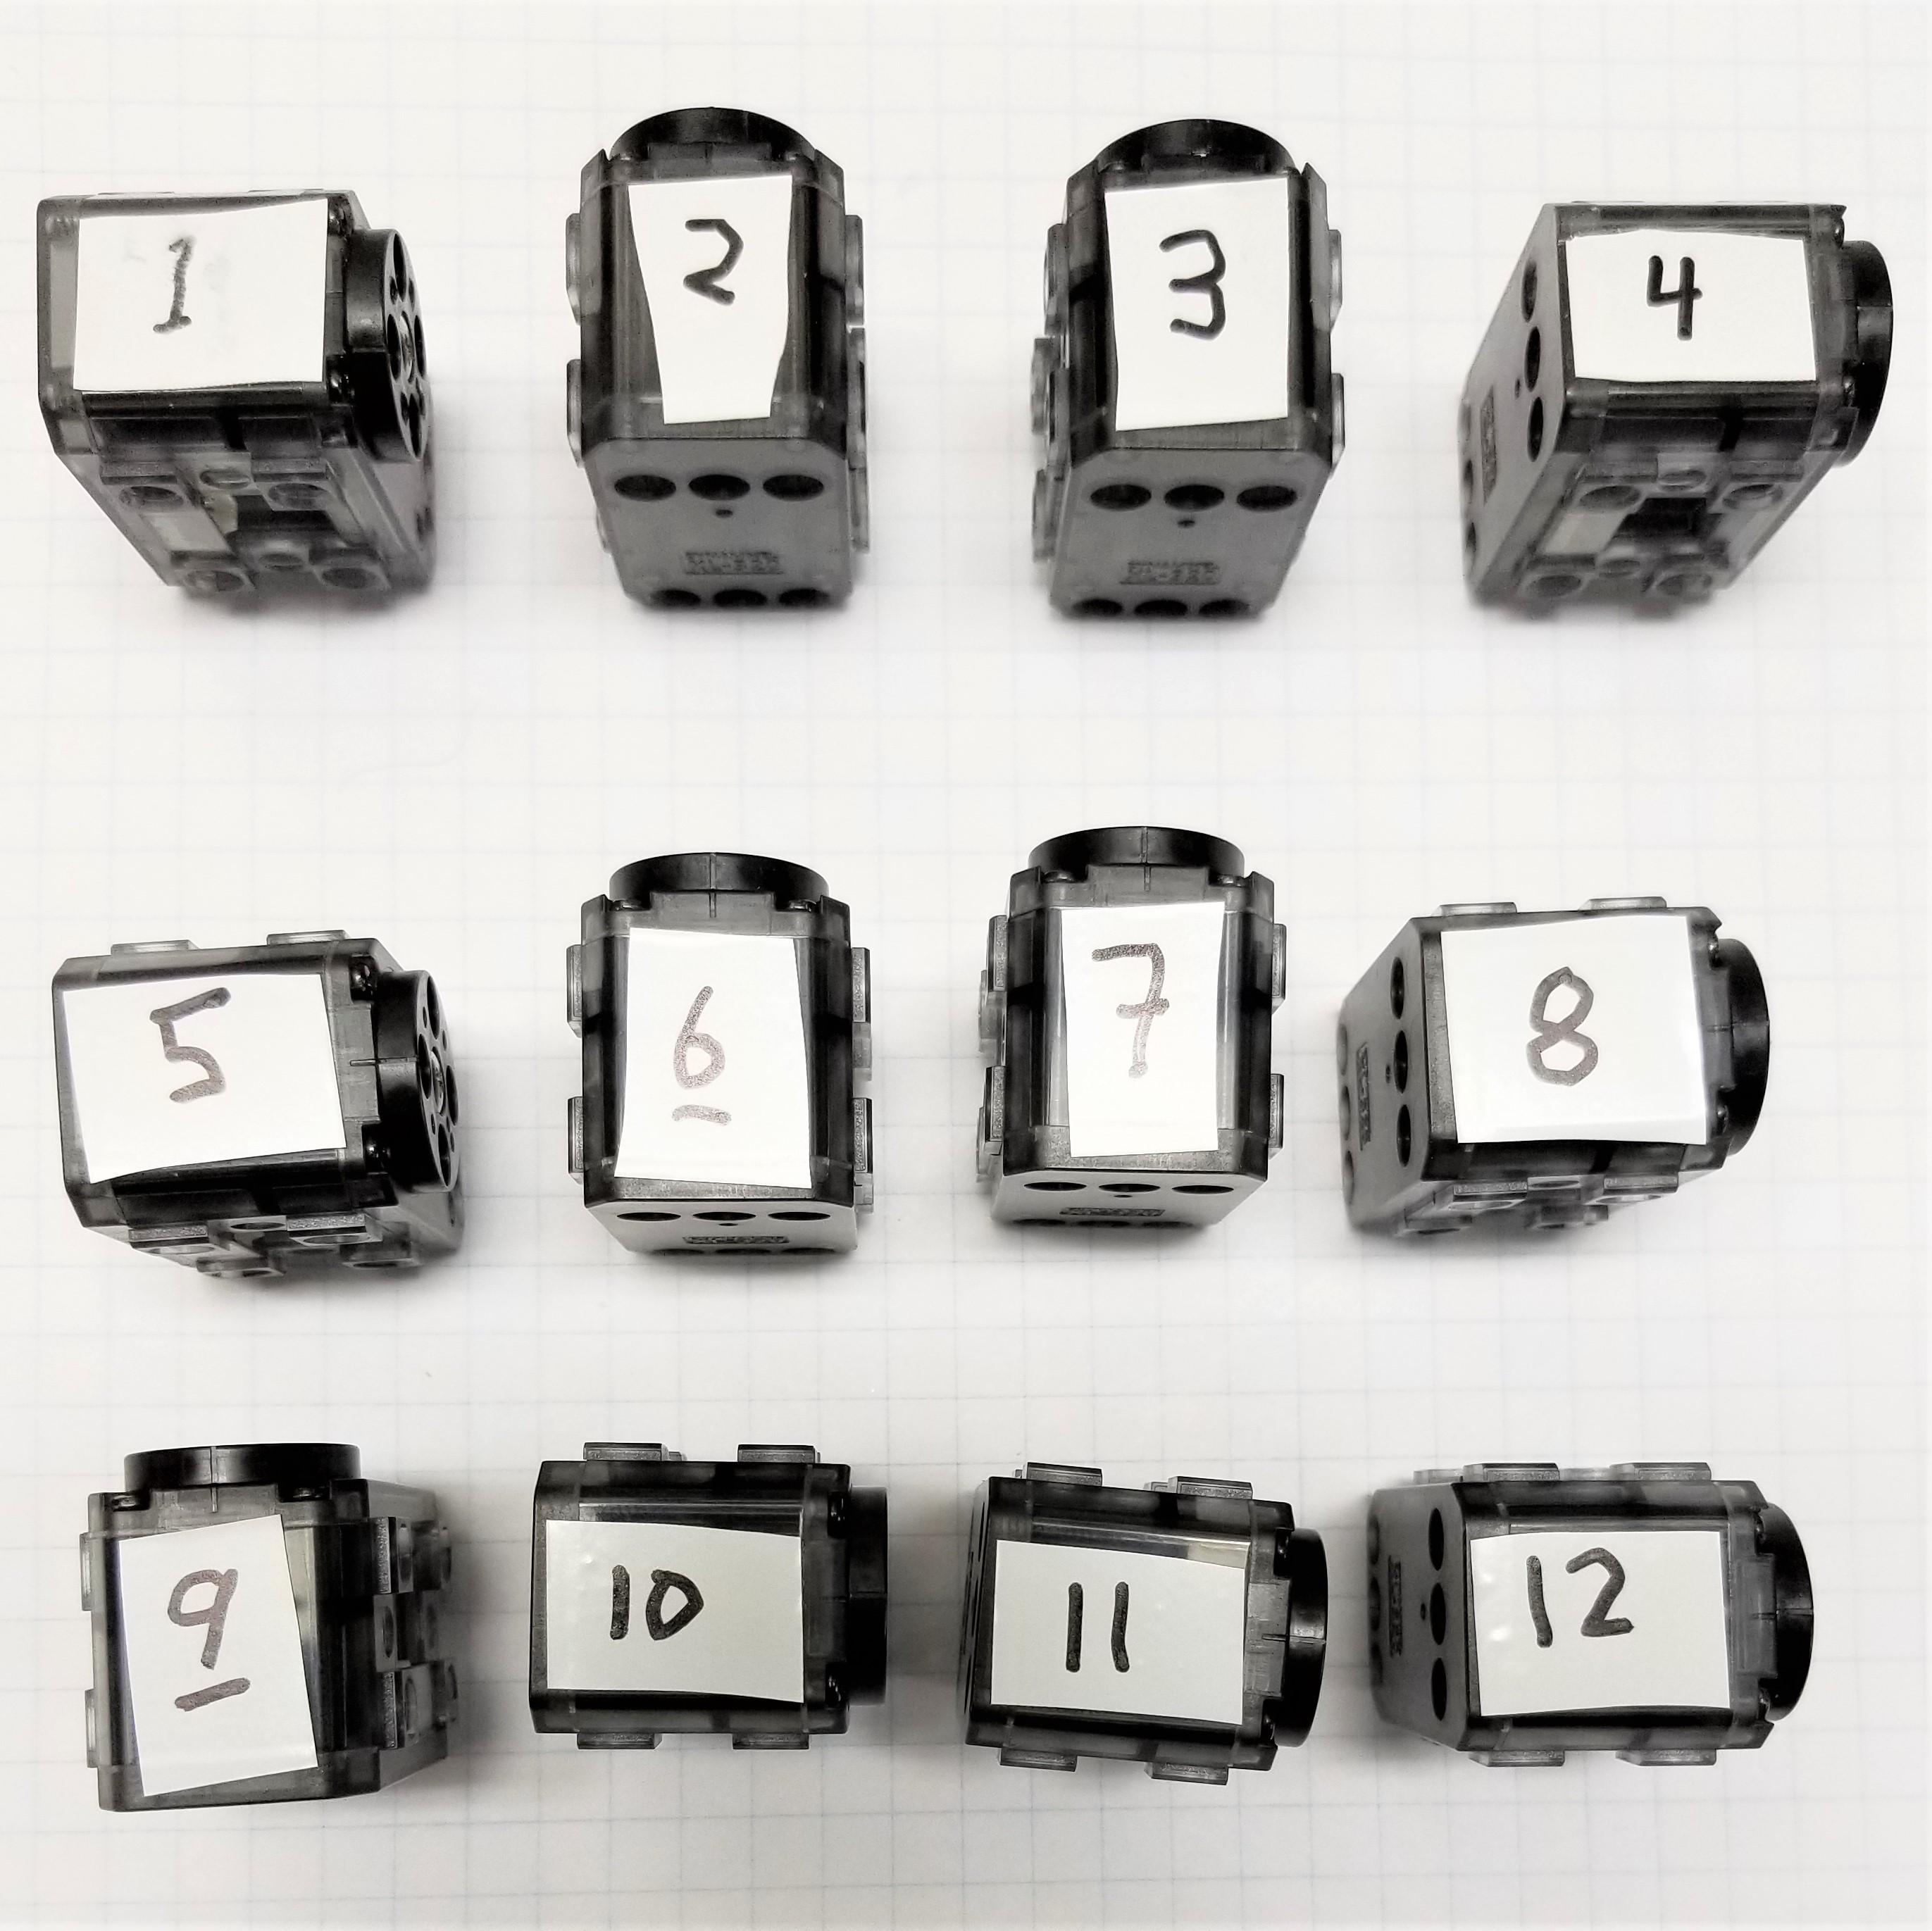
Configure the servos
Print torso components and assign a unique ID to each servo with Dynamixel Wizard 2.0.
- Print the torso components
- Connect servos one at a time
- Program and label each servo ID
 Official project image · MIT
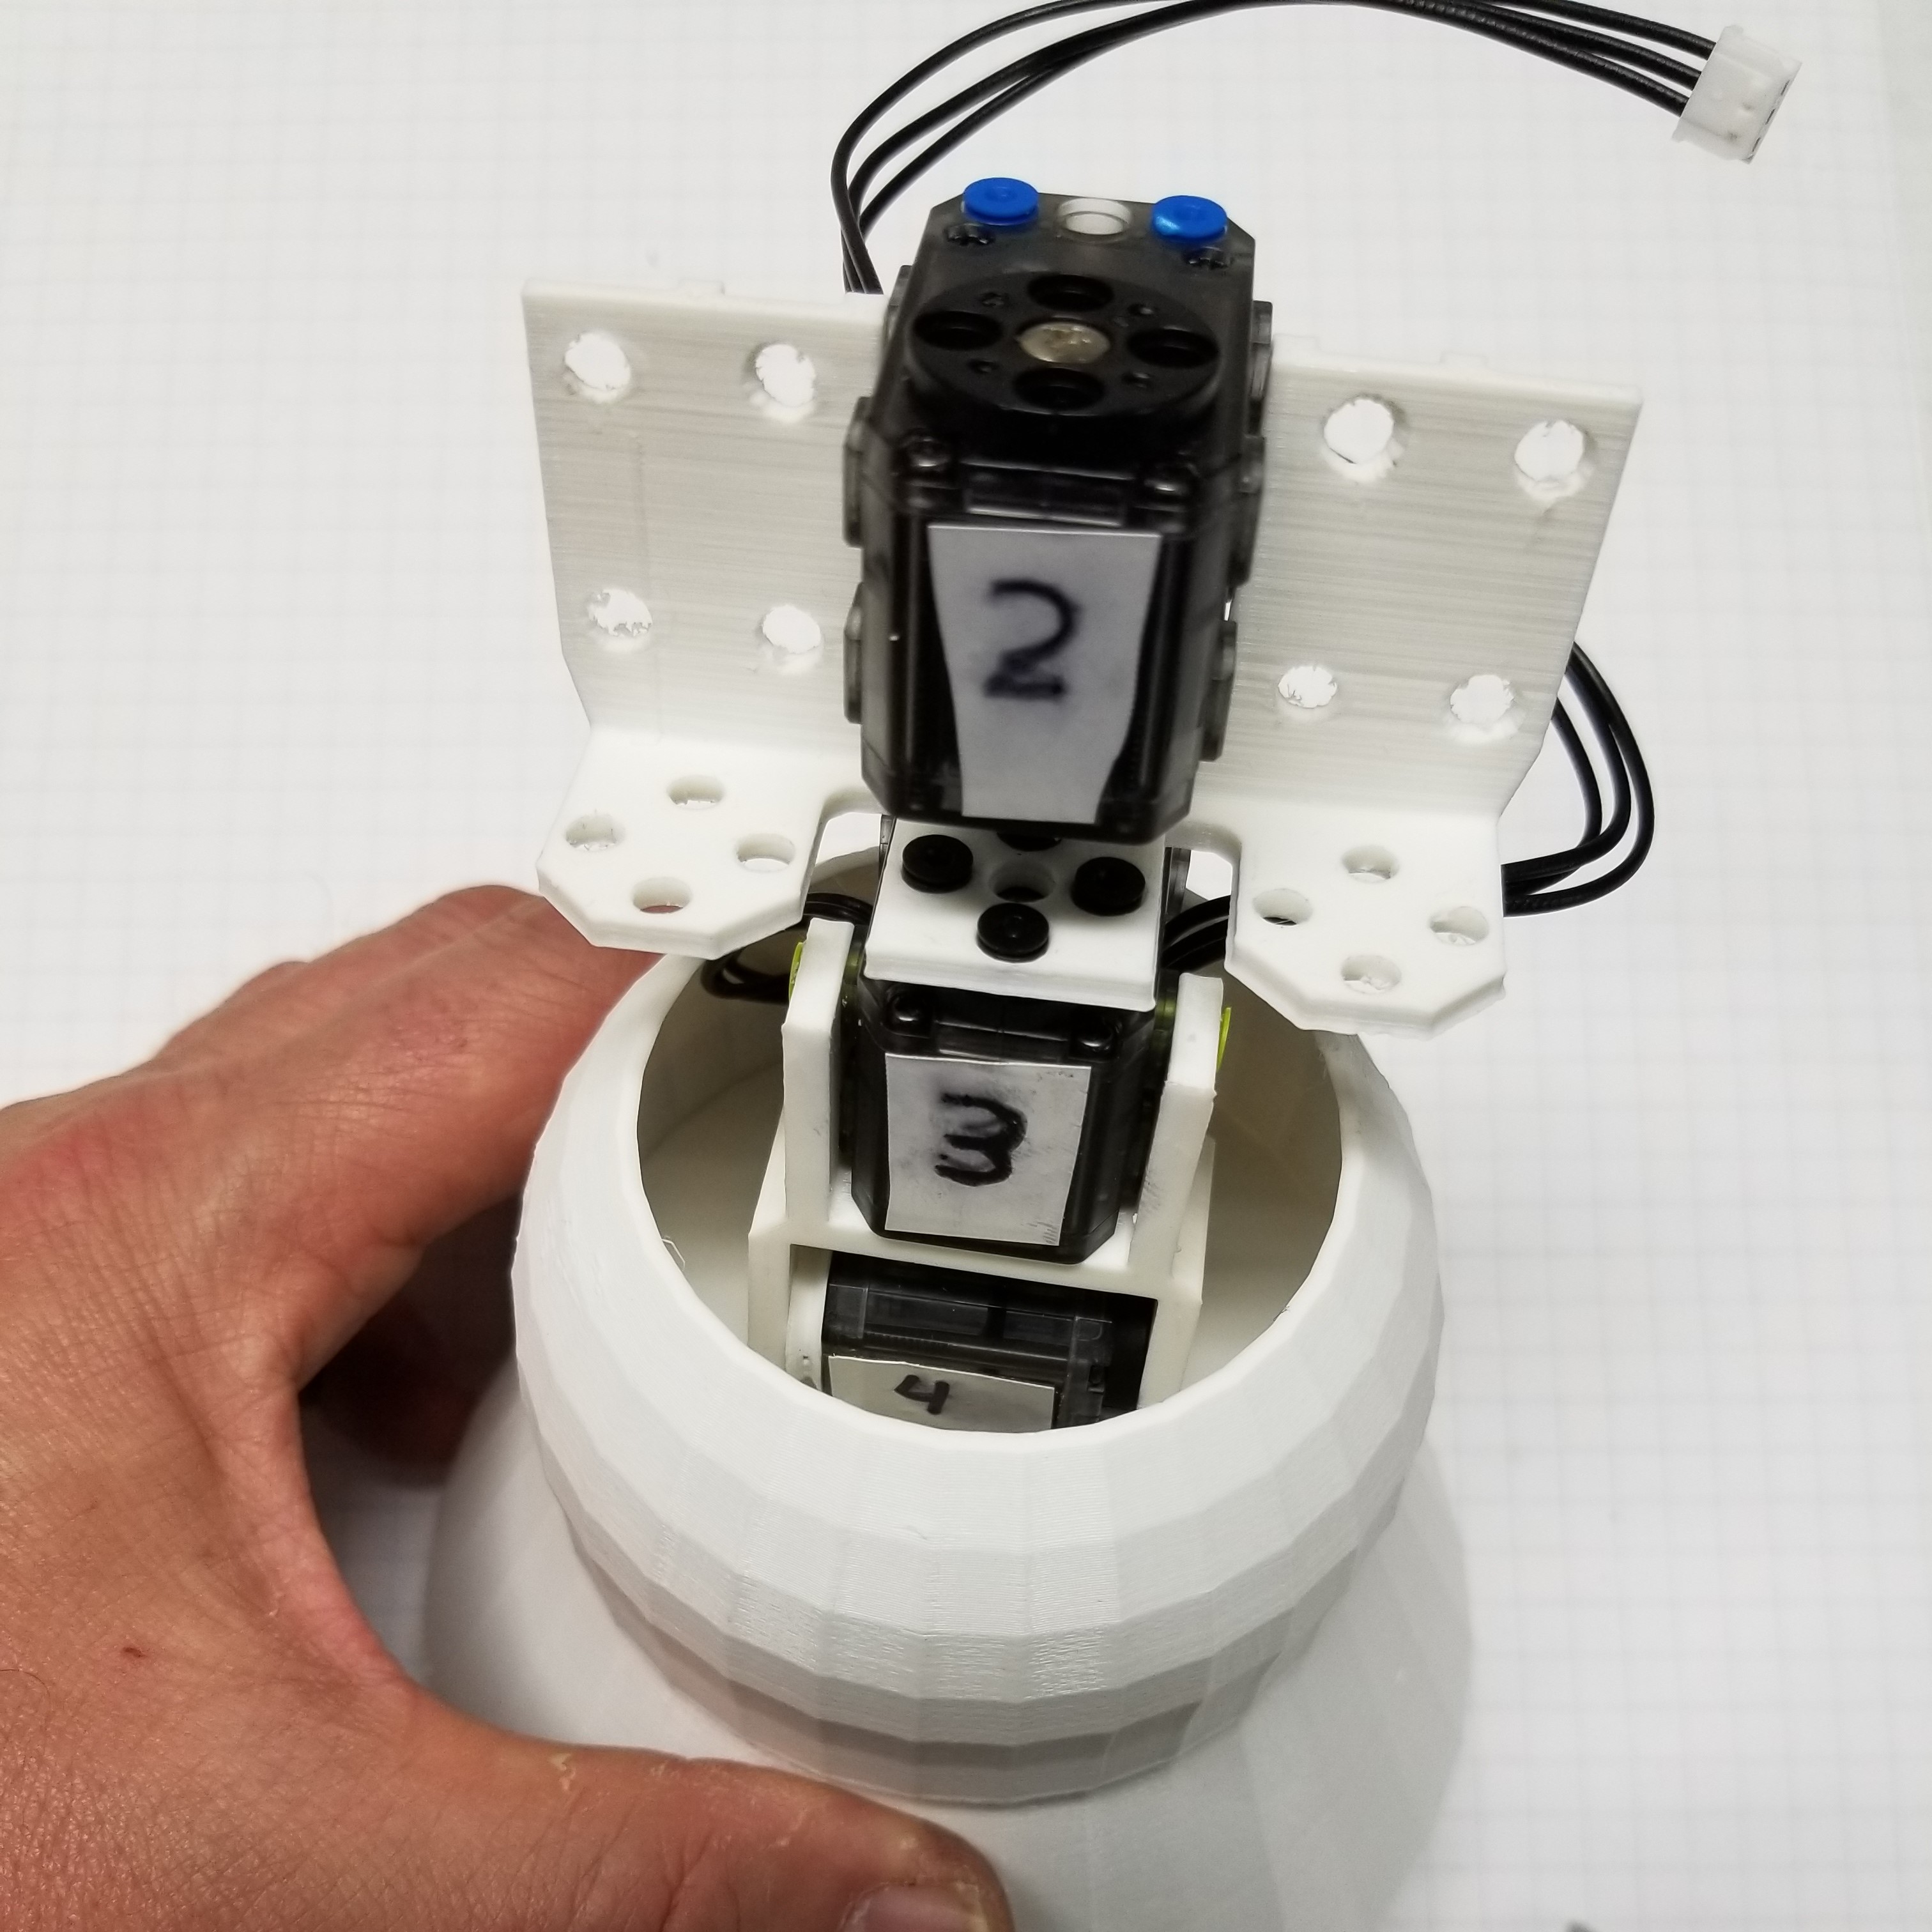
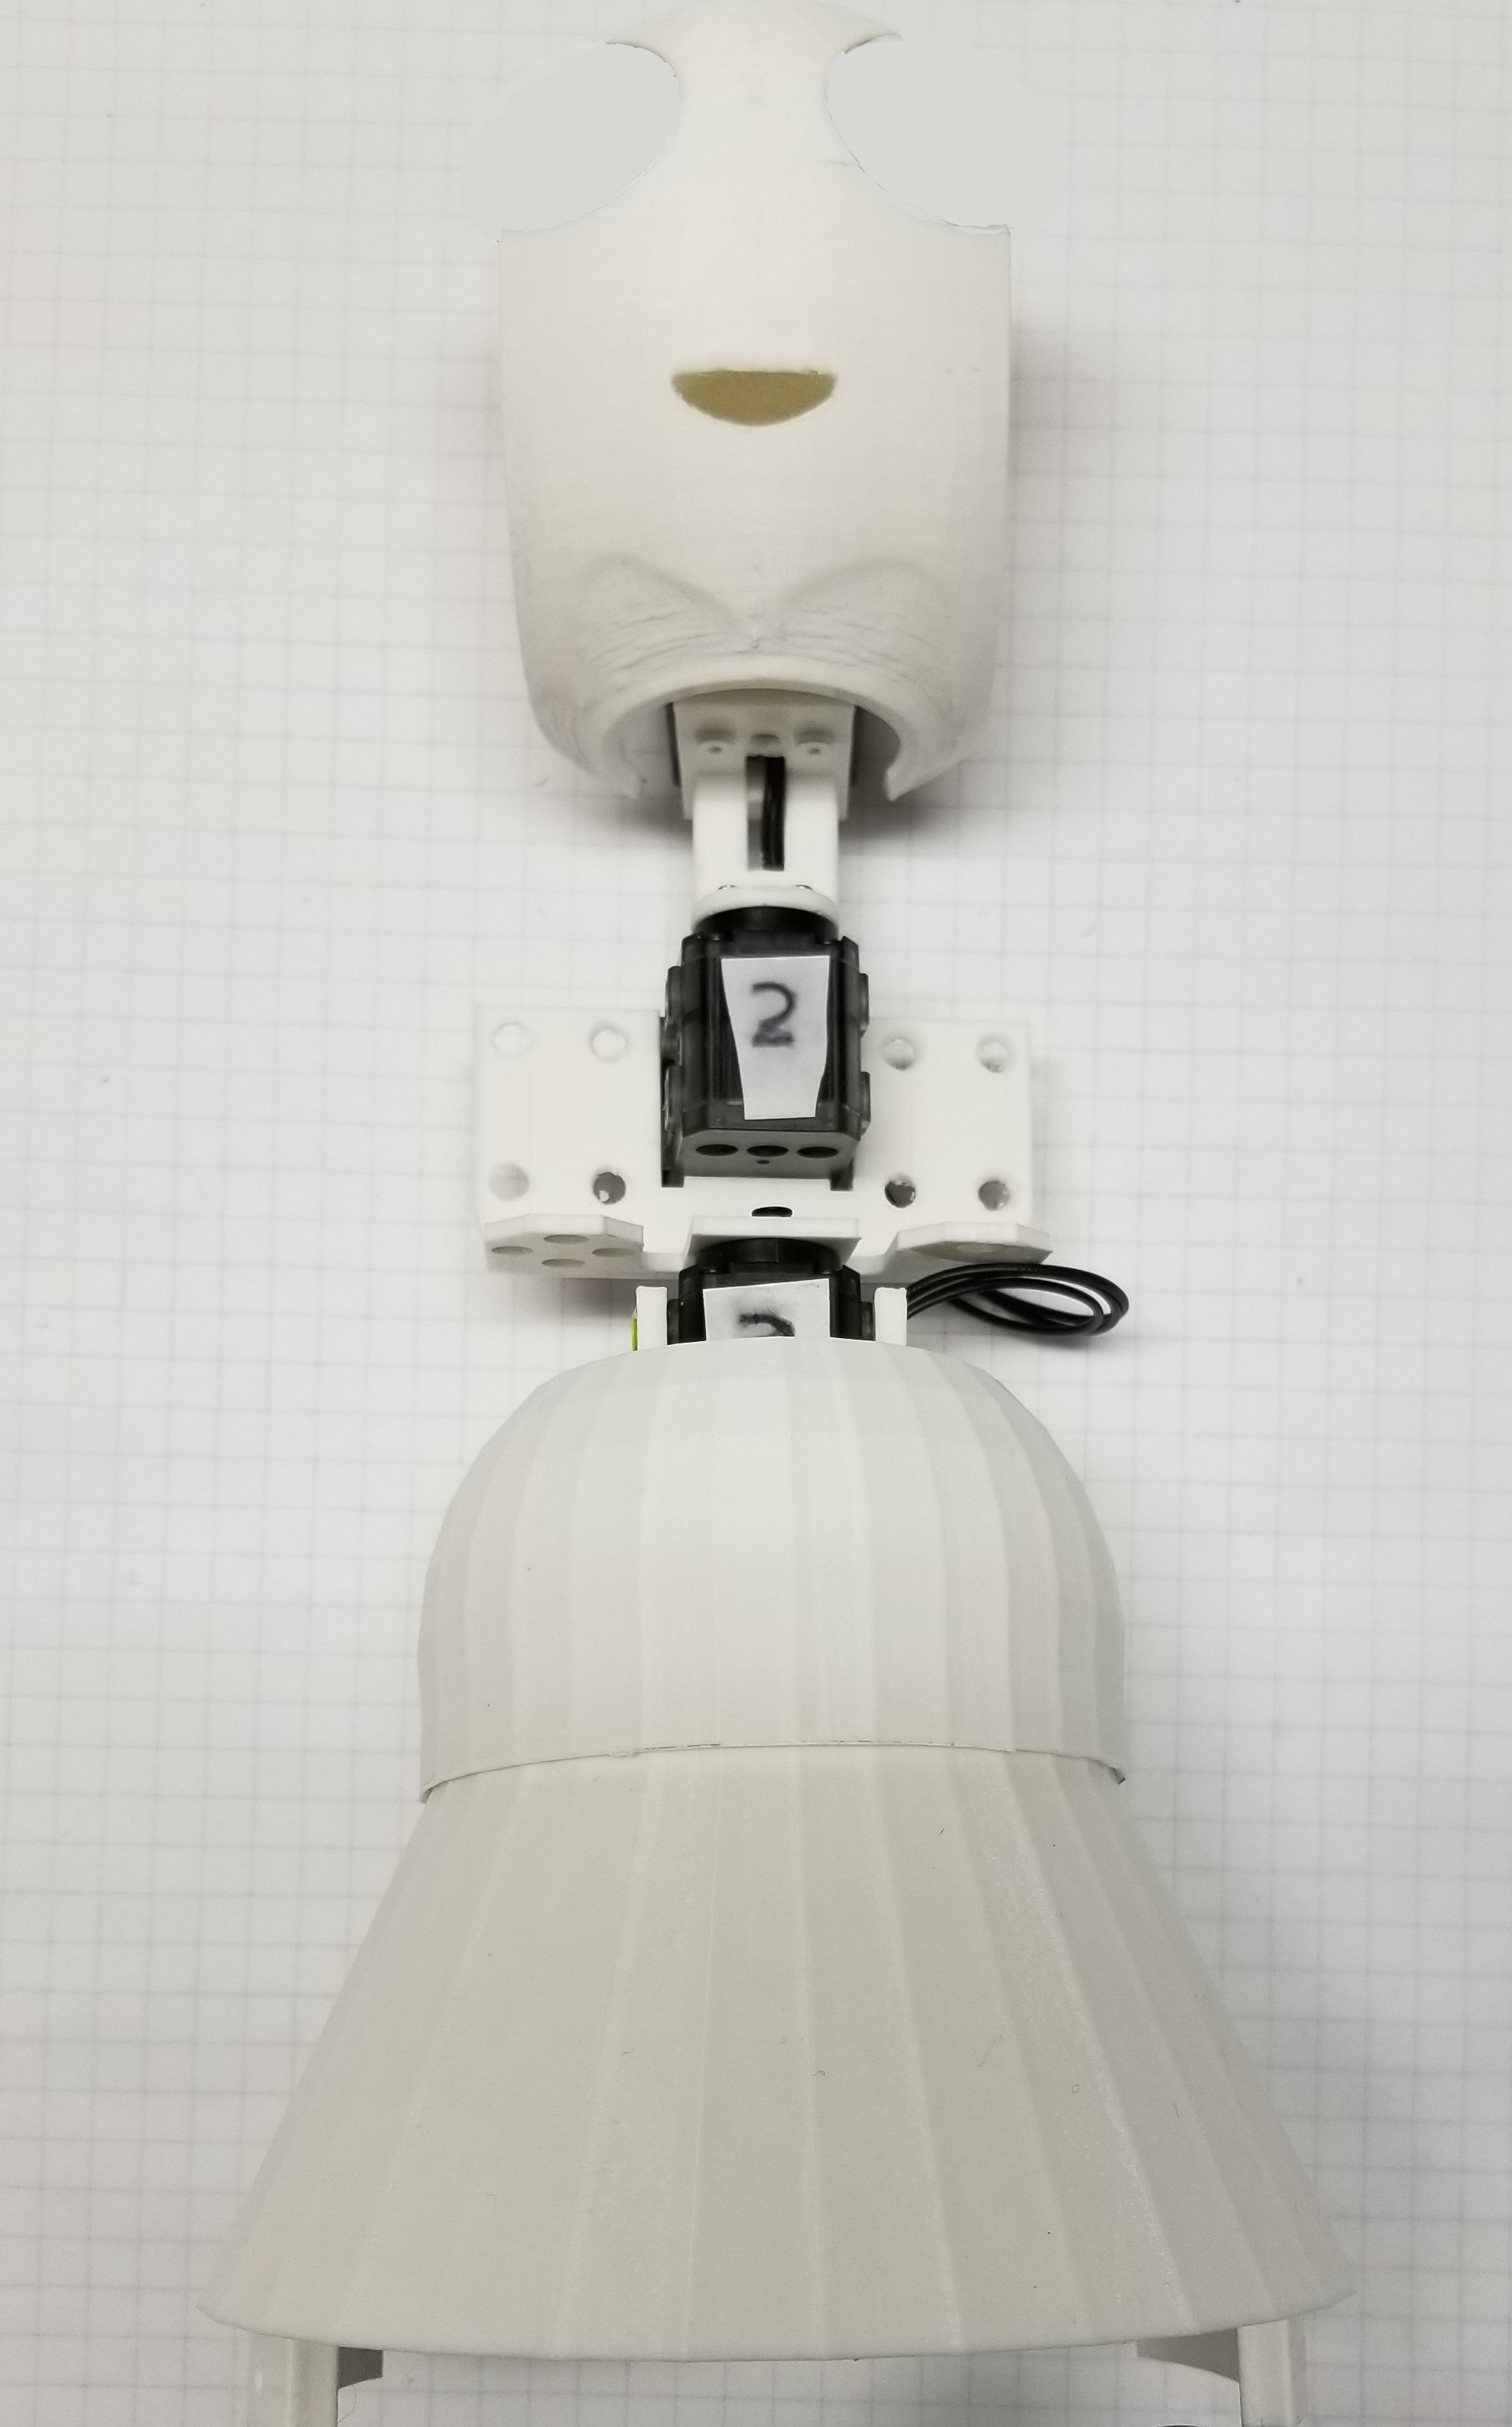
Assemble the torso
Print the head components while assembling the articulated torso structure.
- Print the head components
- Join the torso servos and brackets
- Route cables before closing the structure
 Official project image · MIT
Assemble the head structure
Print components for both arms while attaching the head structure to the torso.
- Print the arm components
- Assemble the head frame
- Attach the head structure to the torso
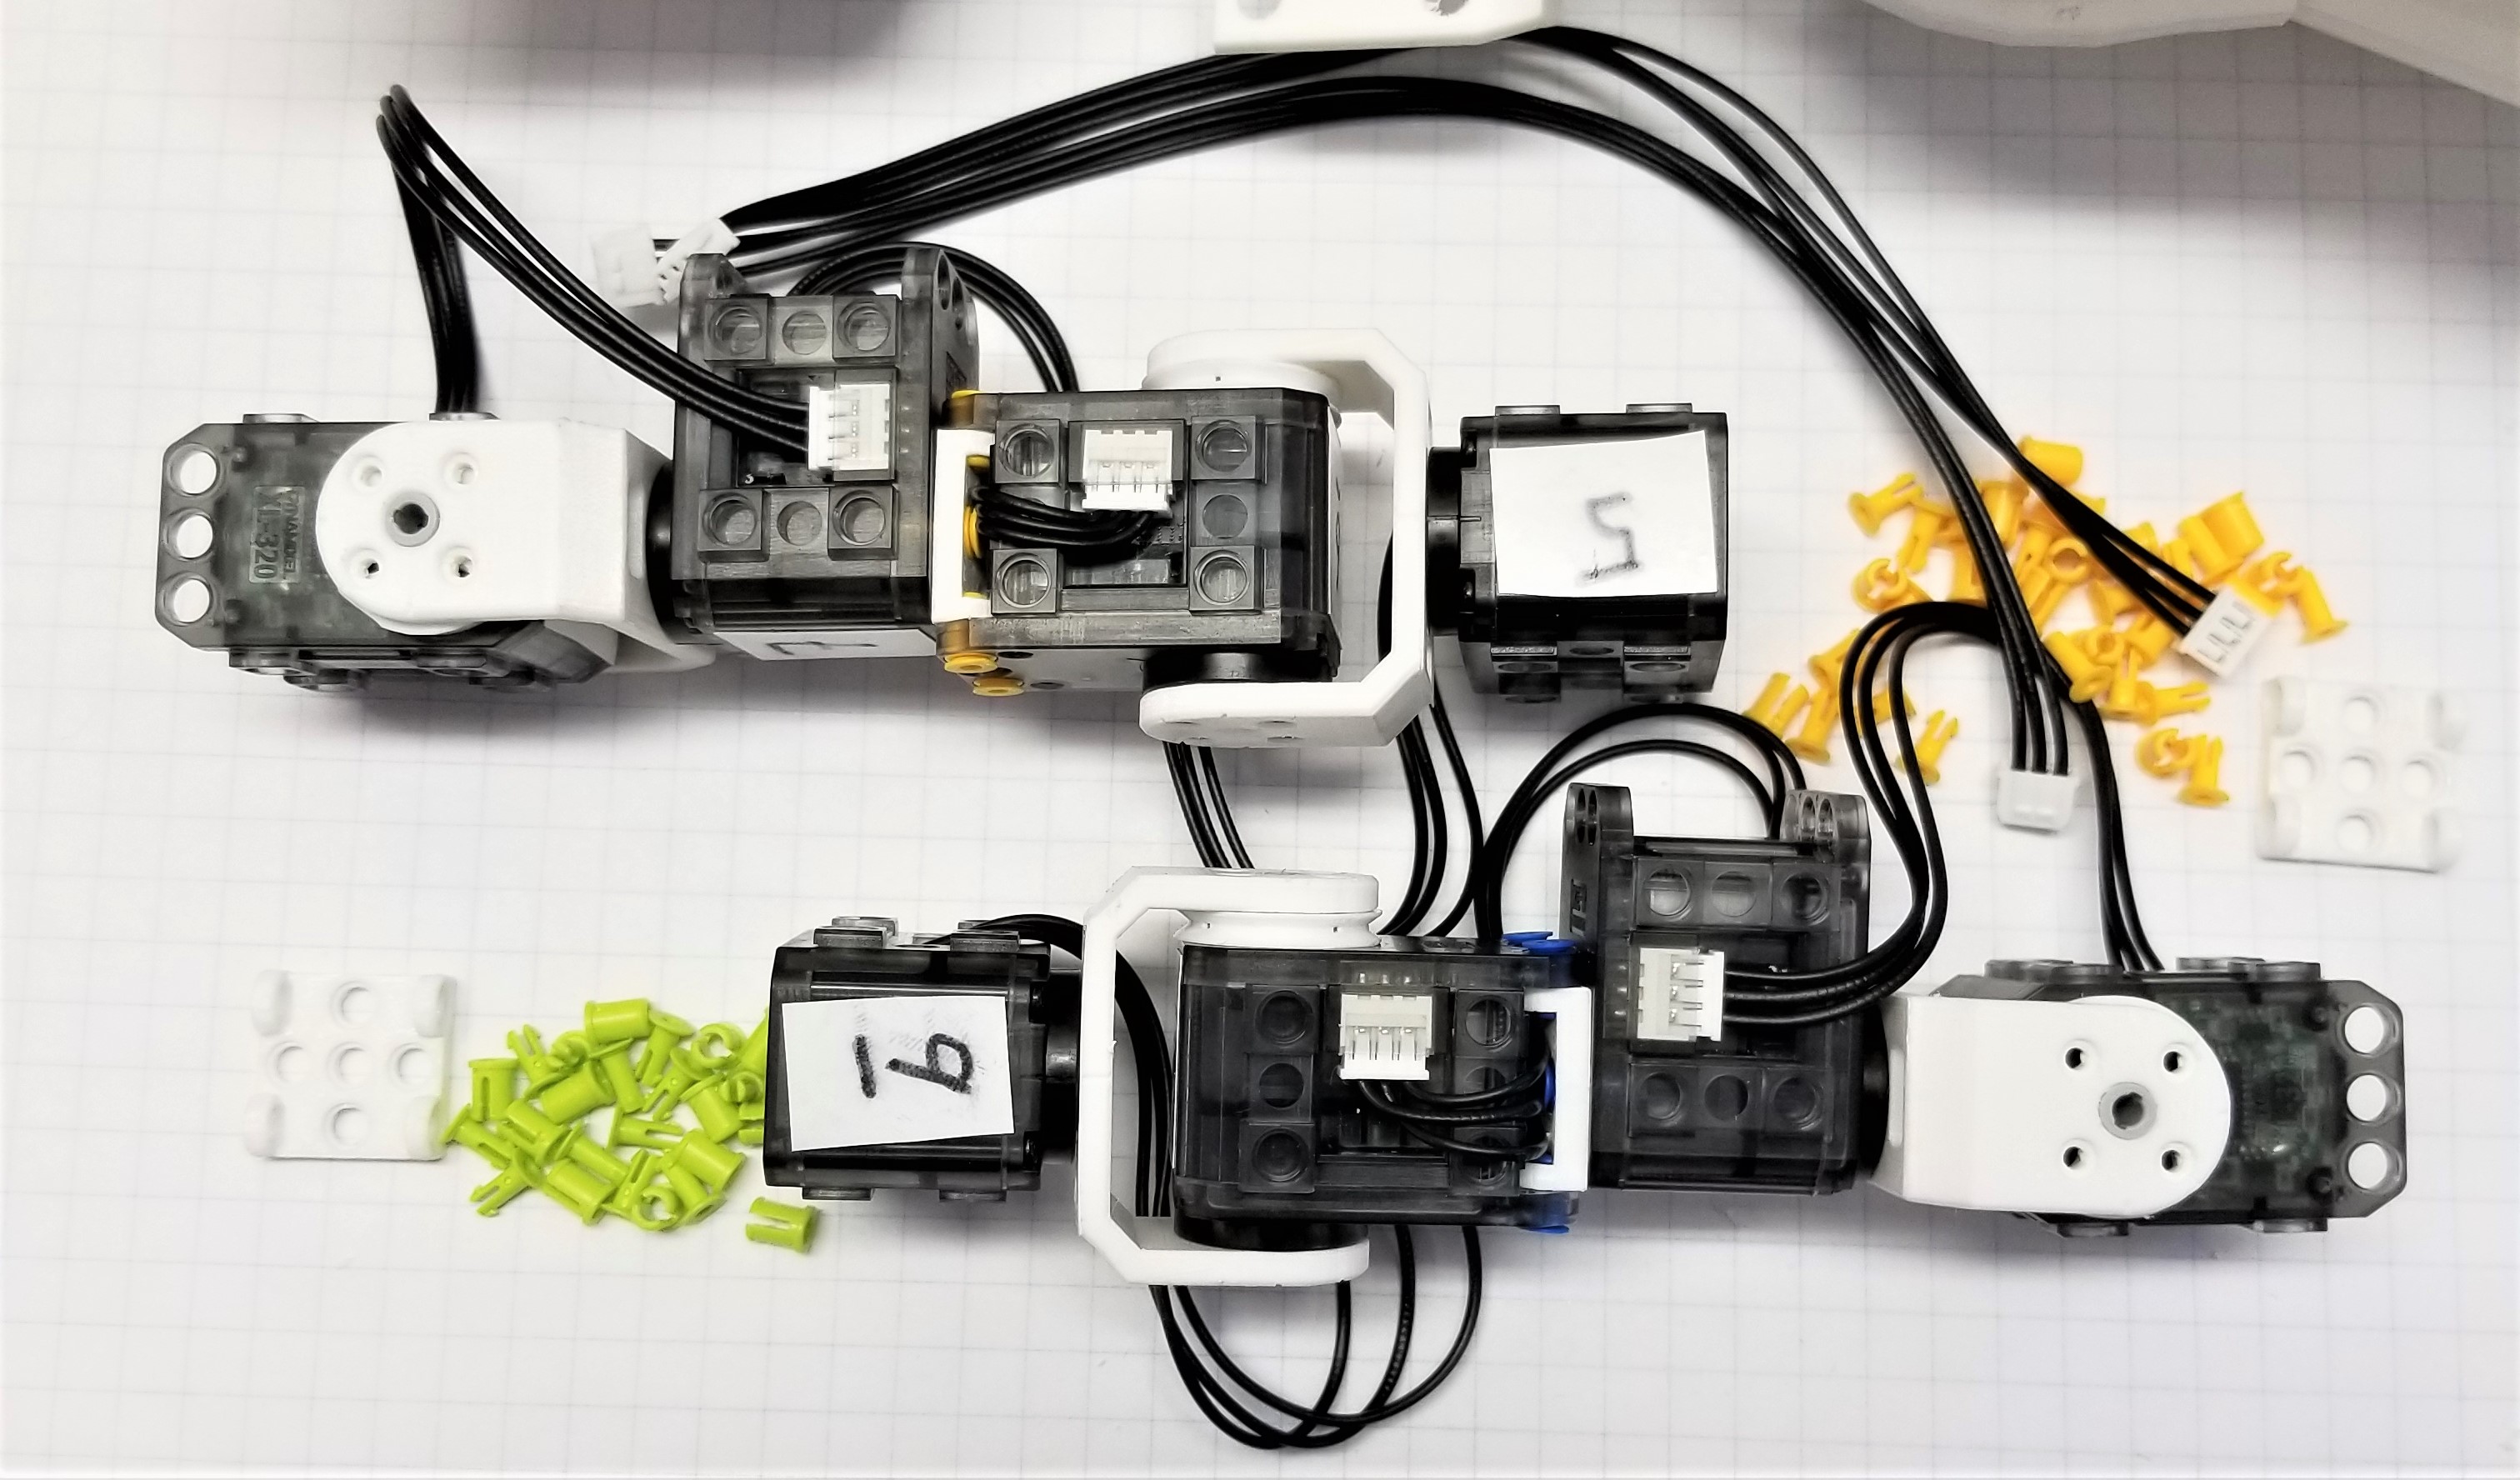
Assemble the right arm
Print the base component while assembling the right arm from its servos and printed structure.
- Start printing the base
- Assemble the right arm joints
- Check servo labels and cable orientation
 Official project image · MIT
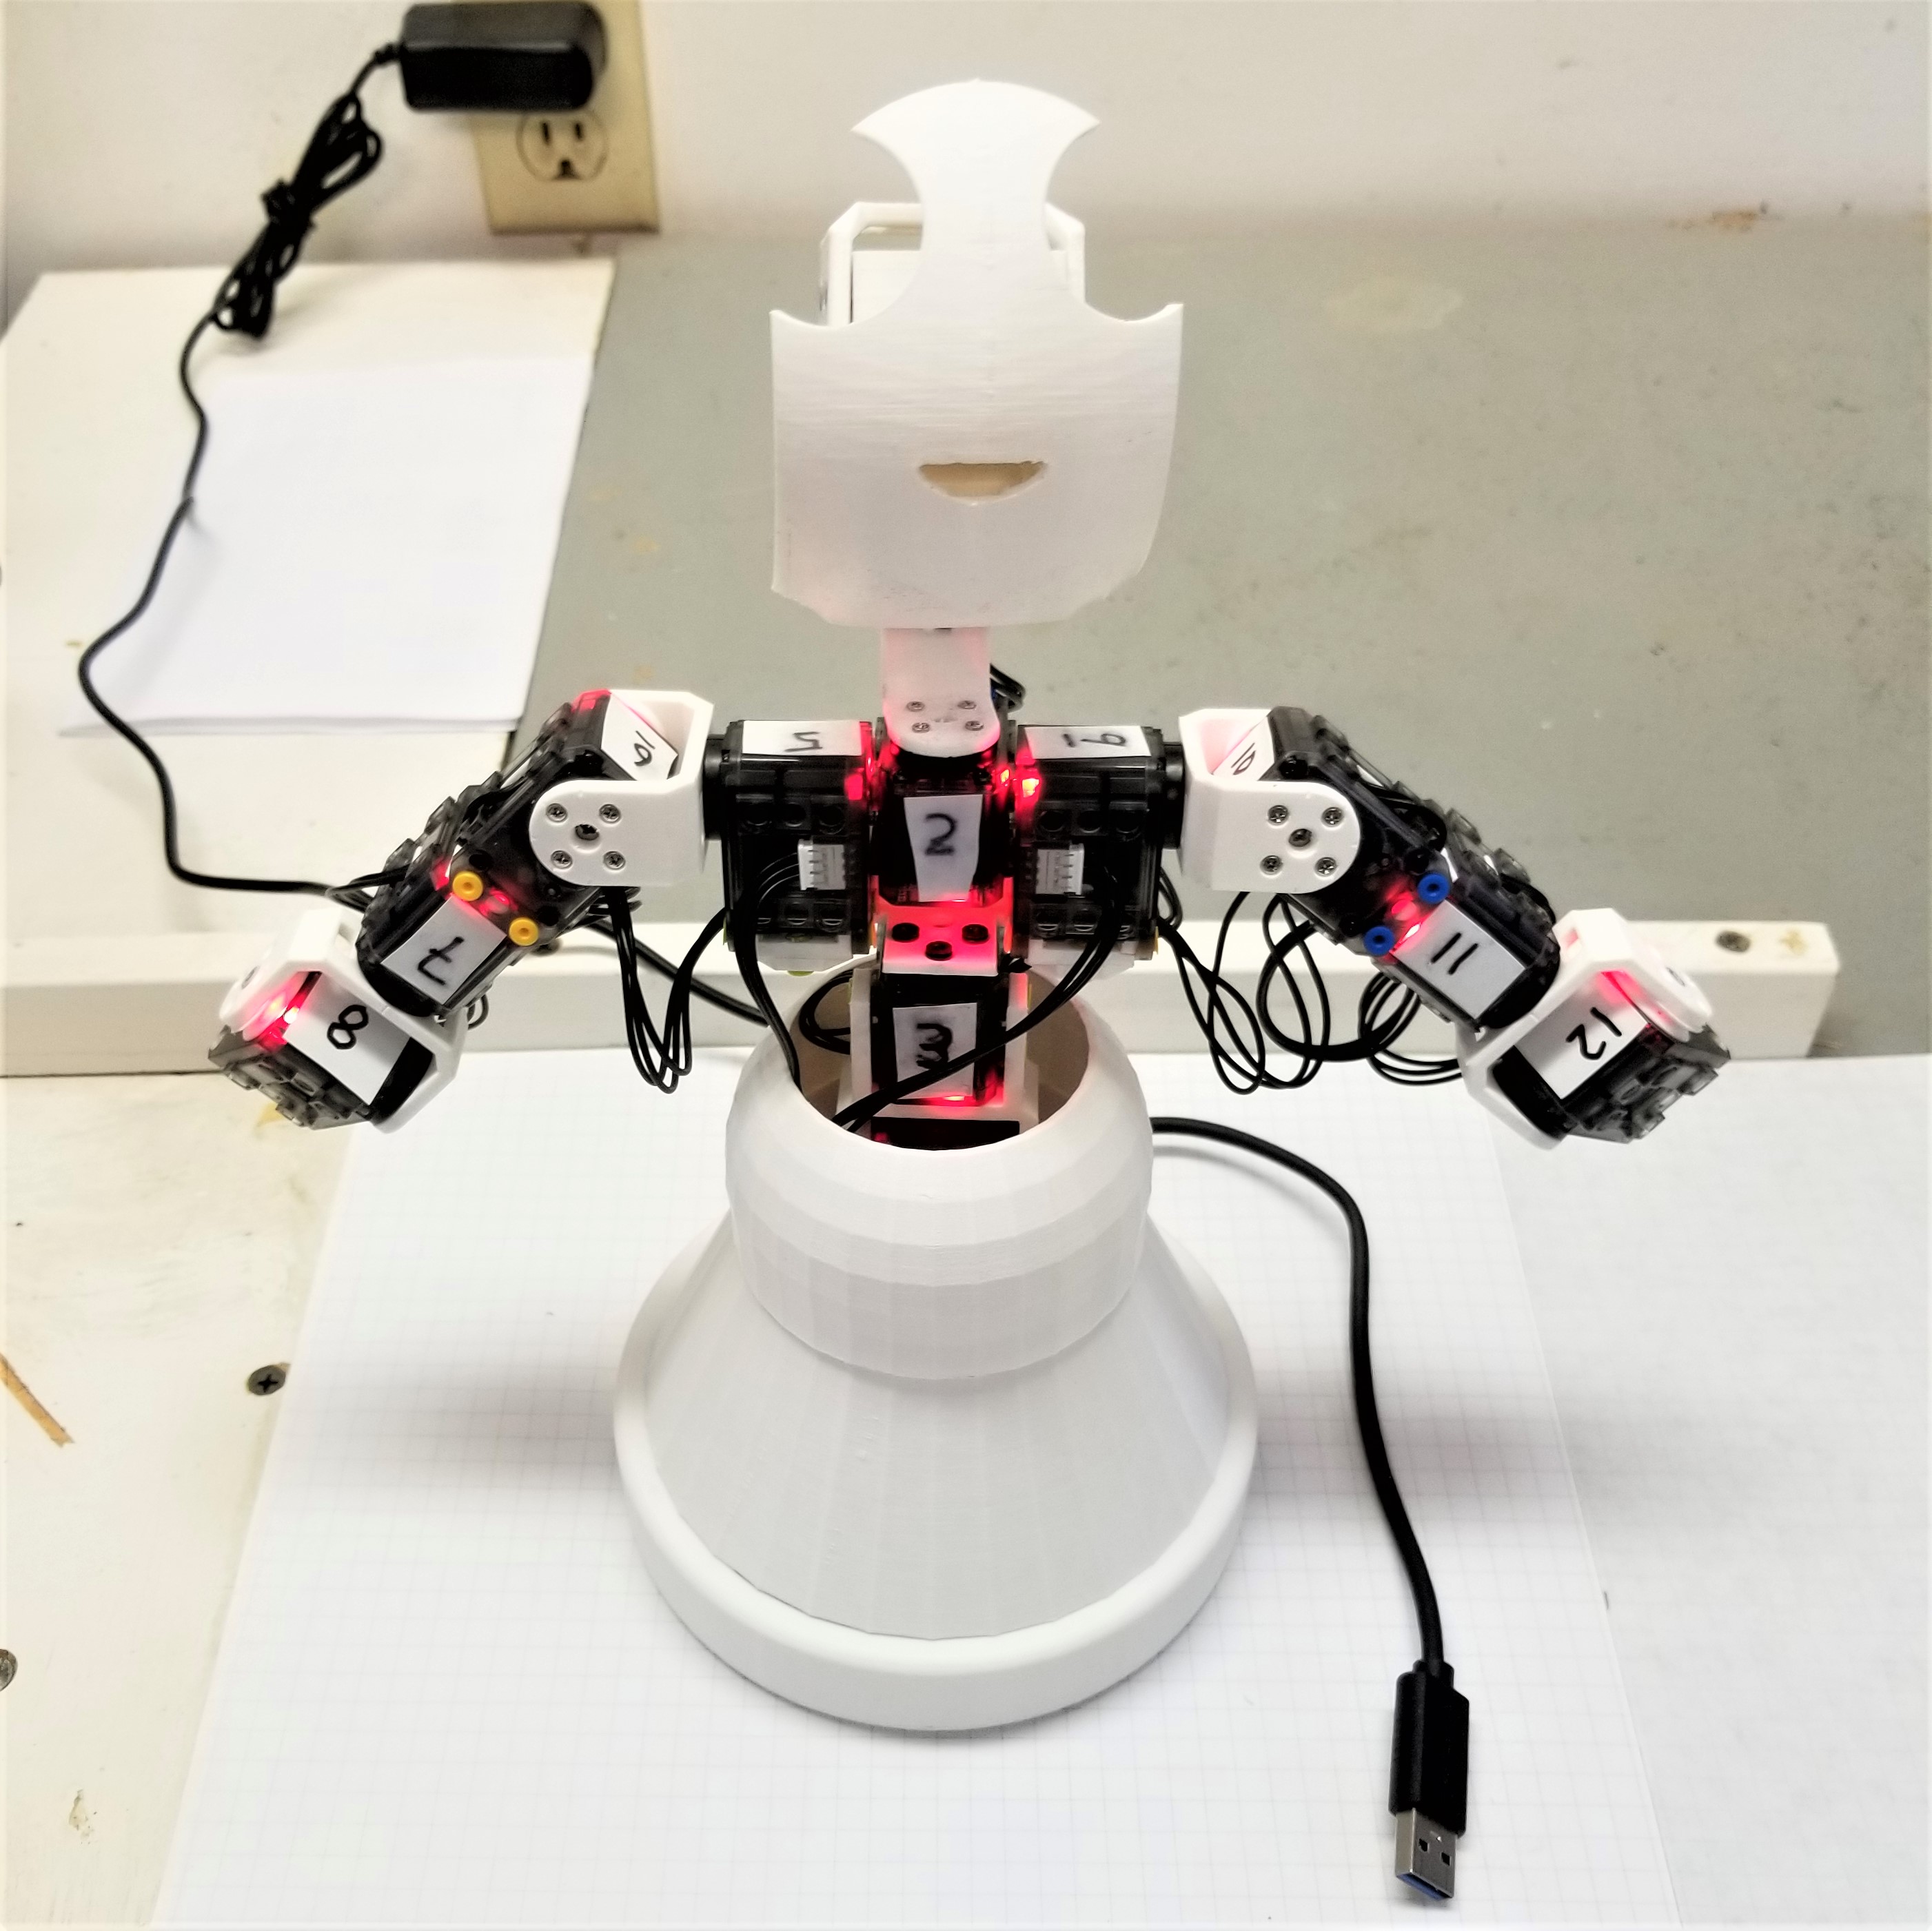
Assemble the left arm
Print the eye and ear components while building the matching left arm assembly.
- Print the eyes and ears
- Assemble the left arm joints
- Confirm the arm mirrors the right-side assembly
 Official project image · MIT
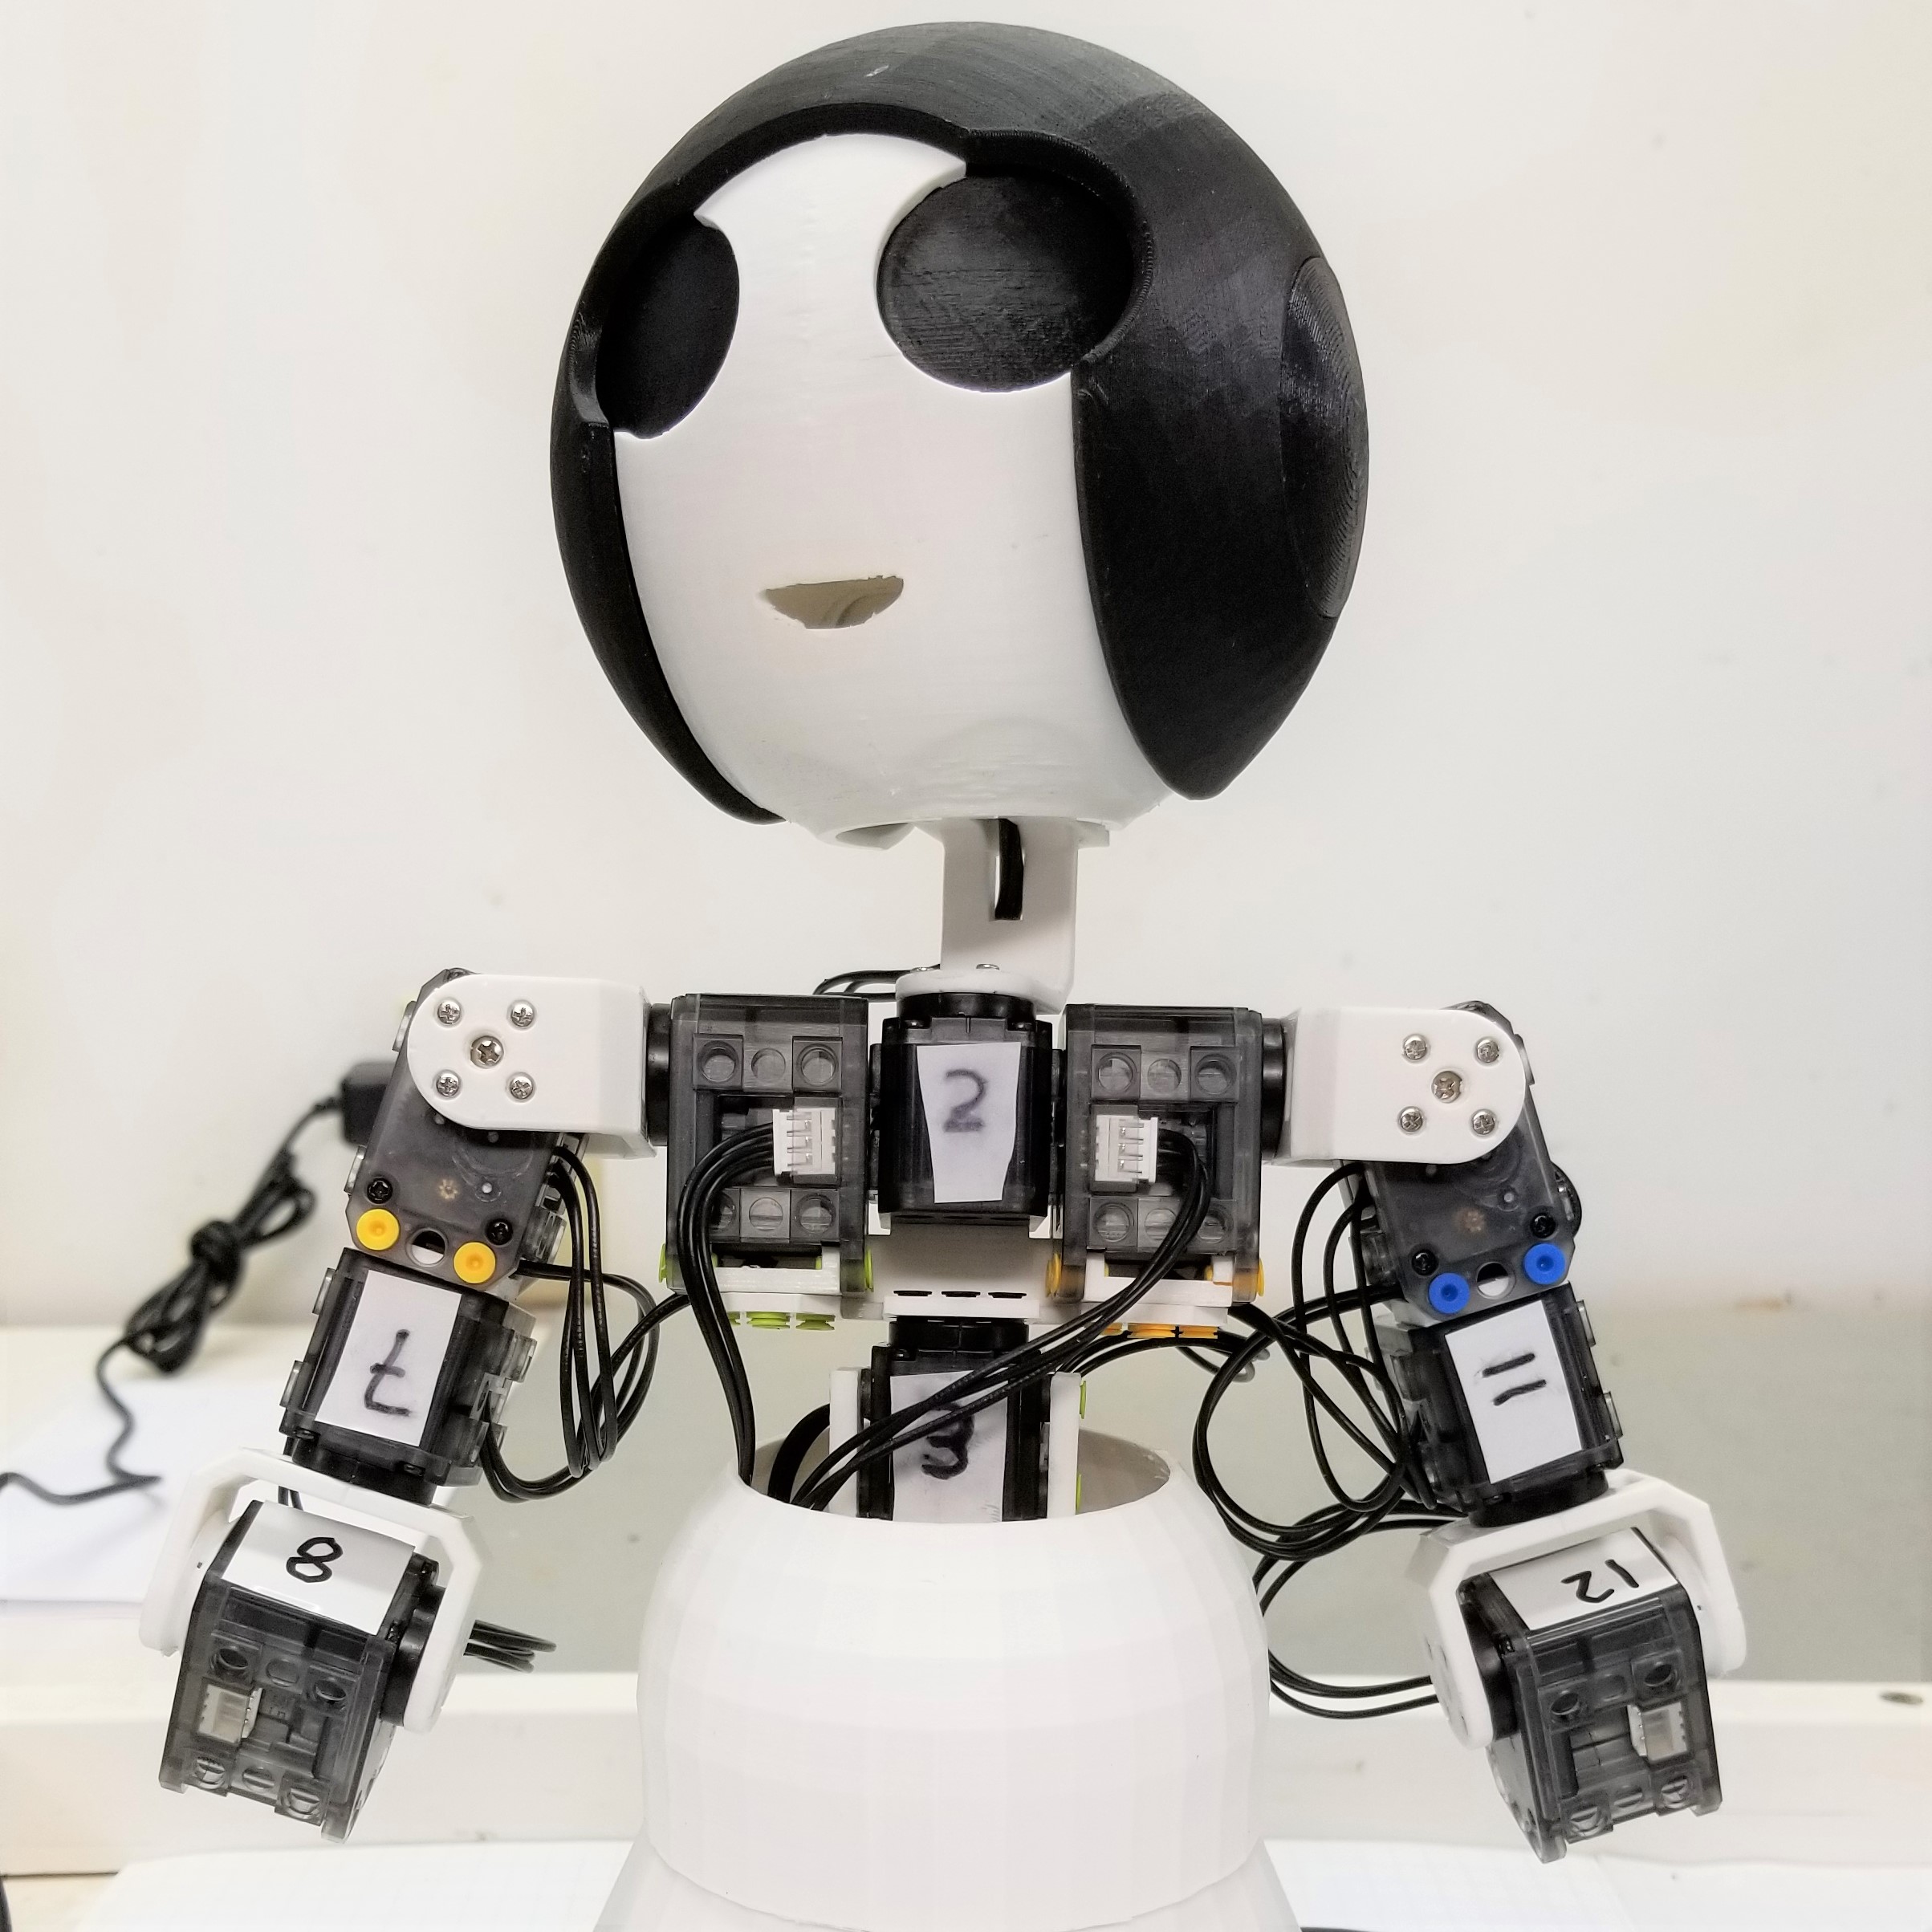
Attach the arms and test the servos
Print the hood, attach both arms and verify motion with Dynamixel Wizard 2.0.
- Print the hood
- Attach both arms to the torso
- Test servo IDs and movement limits
 Official project image · MIT
Complete the head
Print the hands and arm covers while installing the eyes, ears and remaining head components.
- Print the hands and servo covers
- Install the eyes and ears
- Complete and test the head assembly
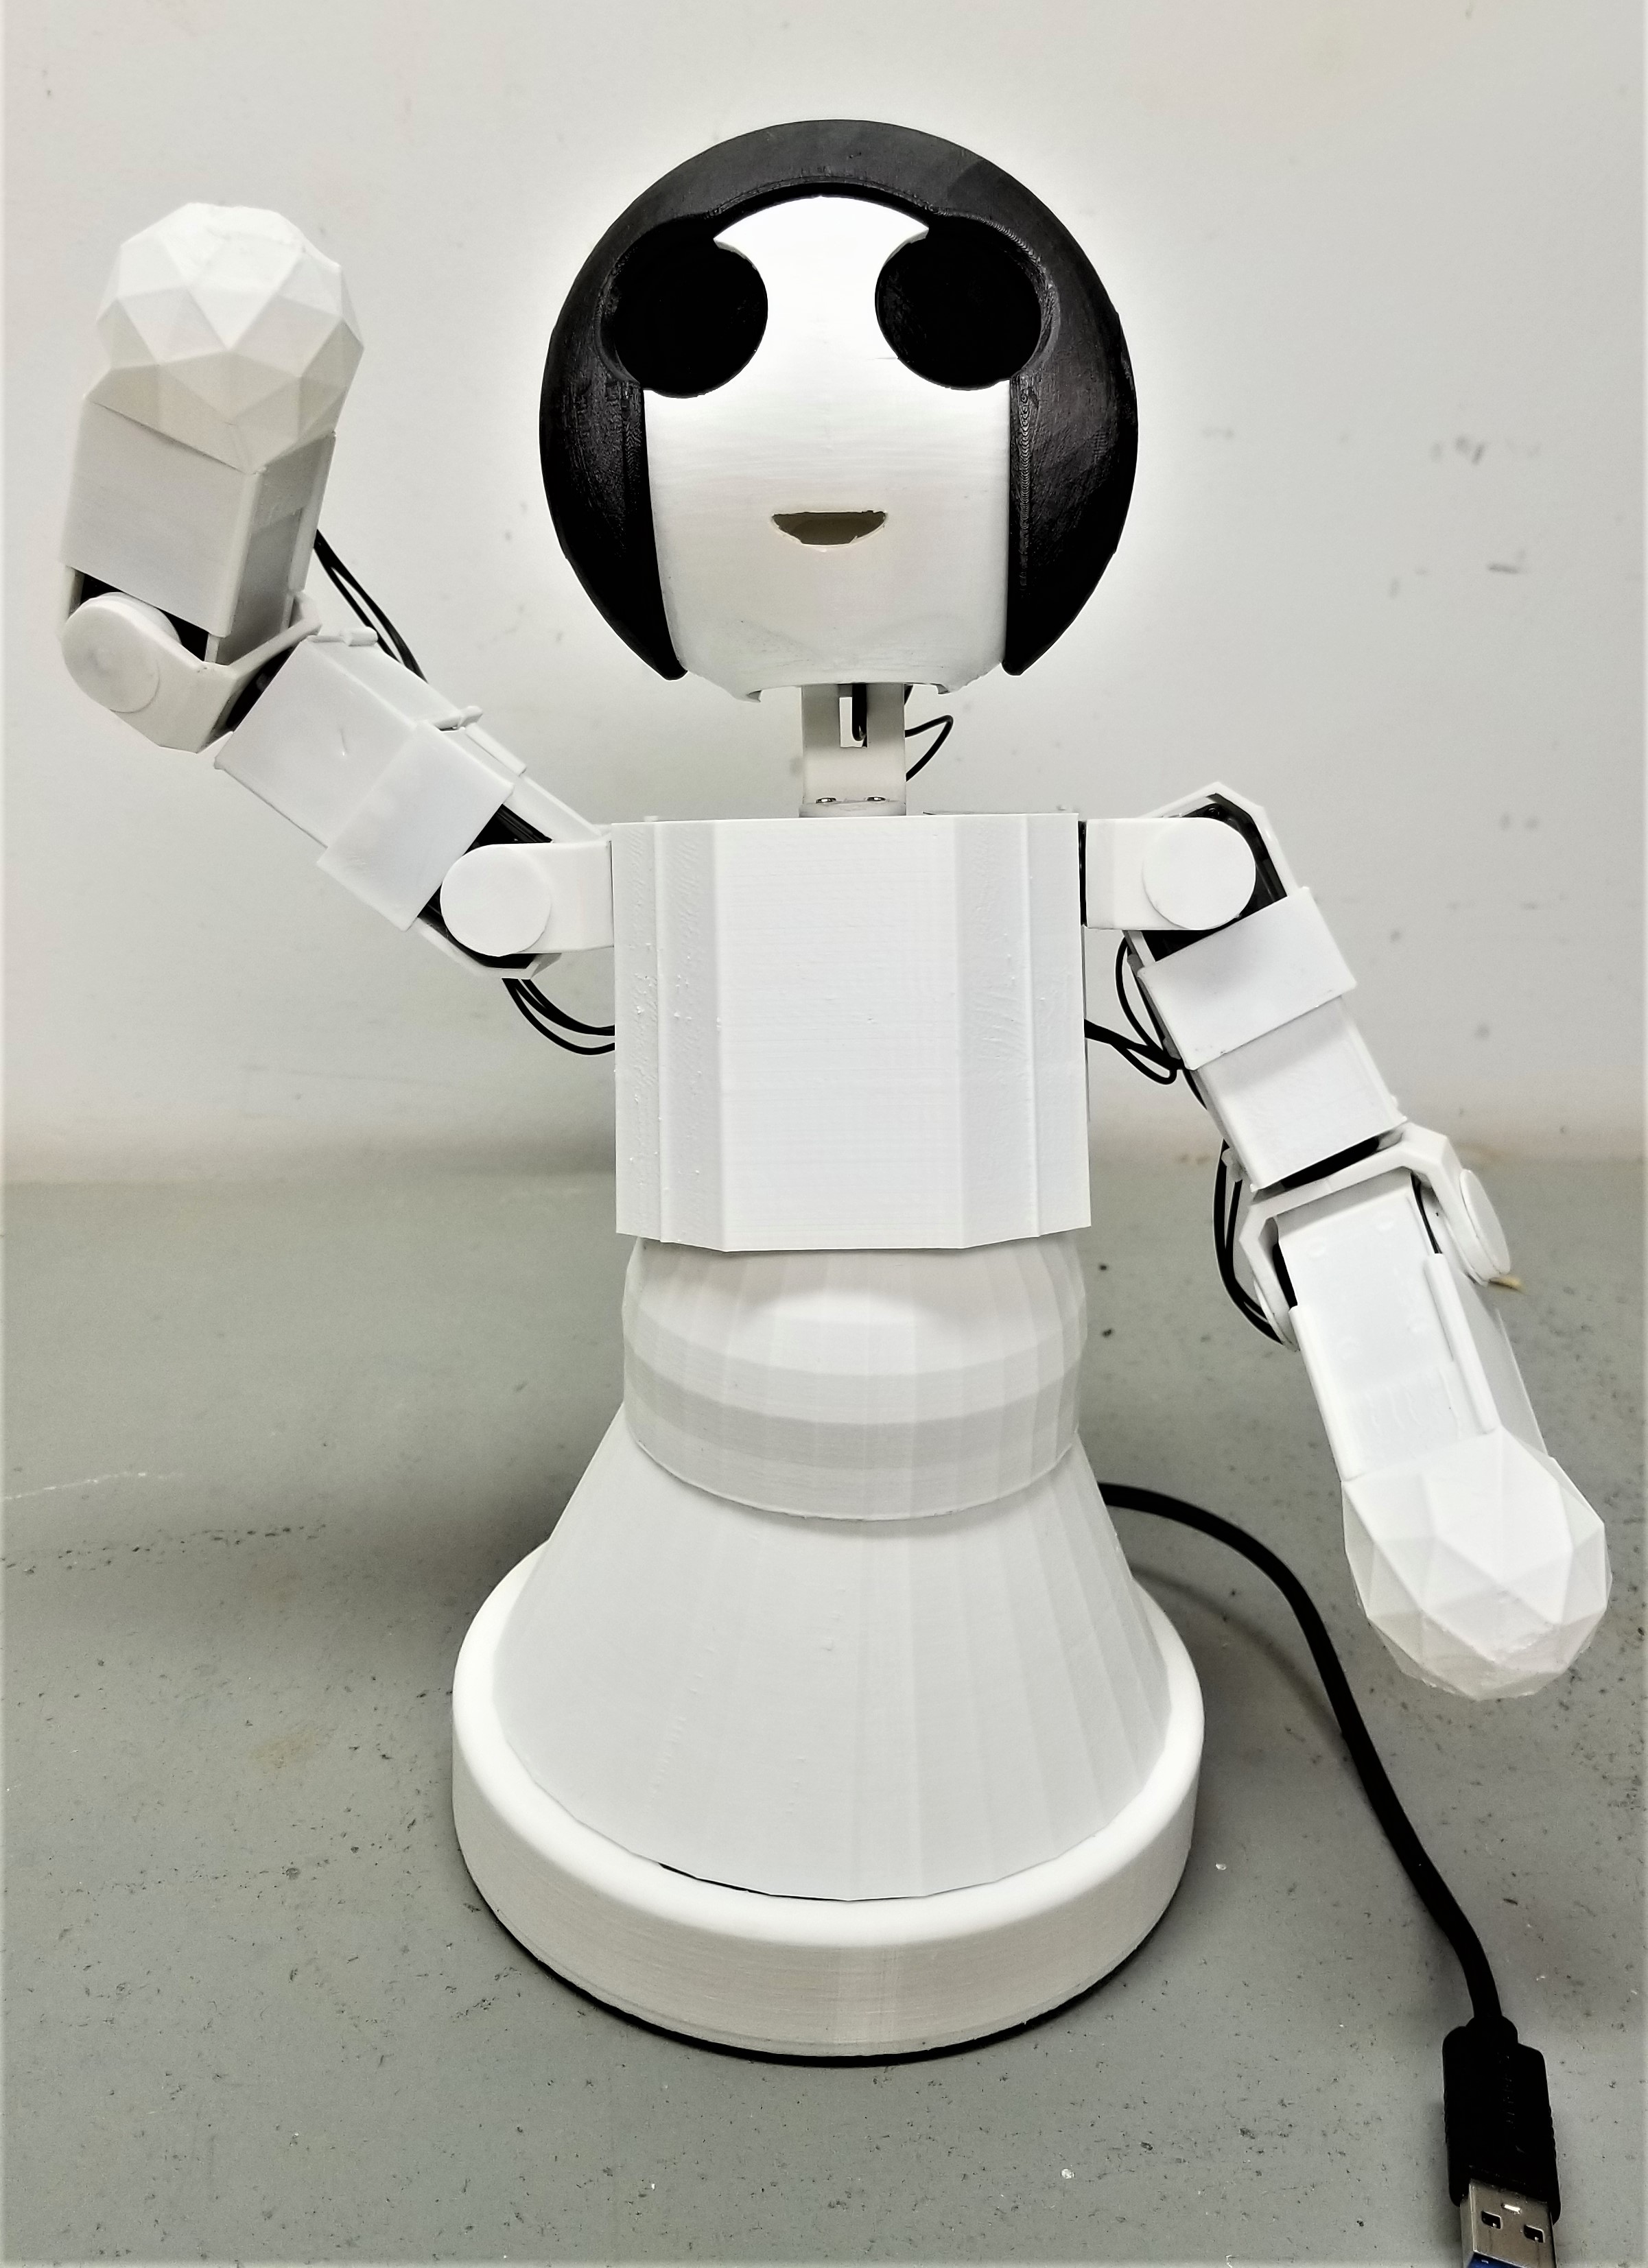 Official project image · MIT
Install the body covers
Print the torso covers while installing the arm covers and hands.
- Print the front and rear torso covers
- Install the arm servo covers
- Attach both hands
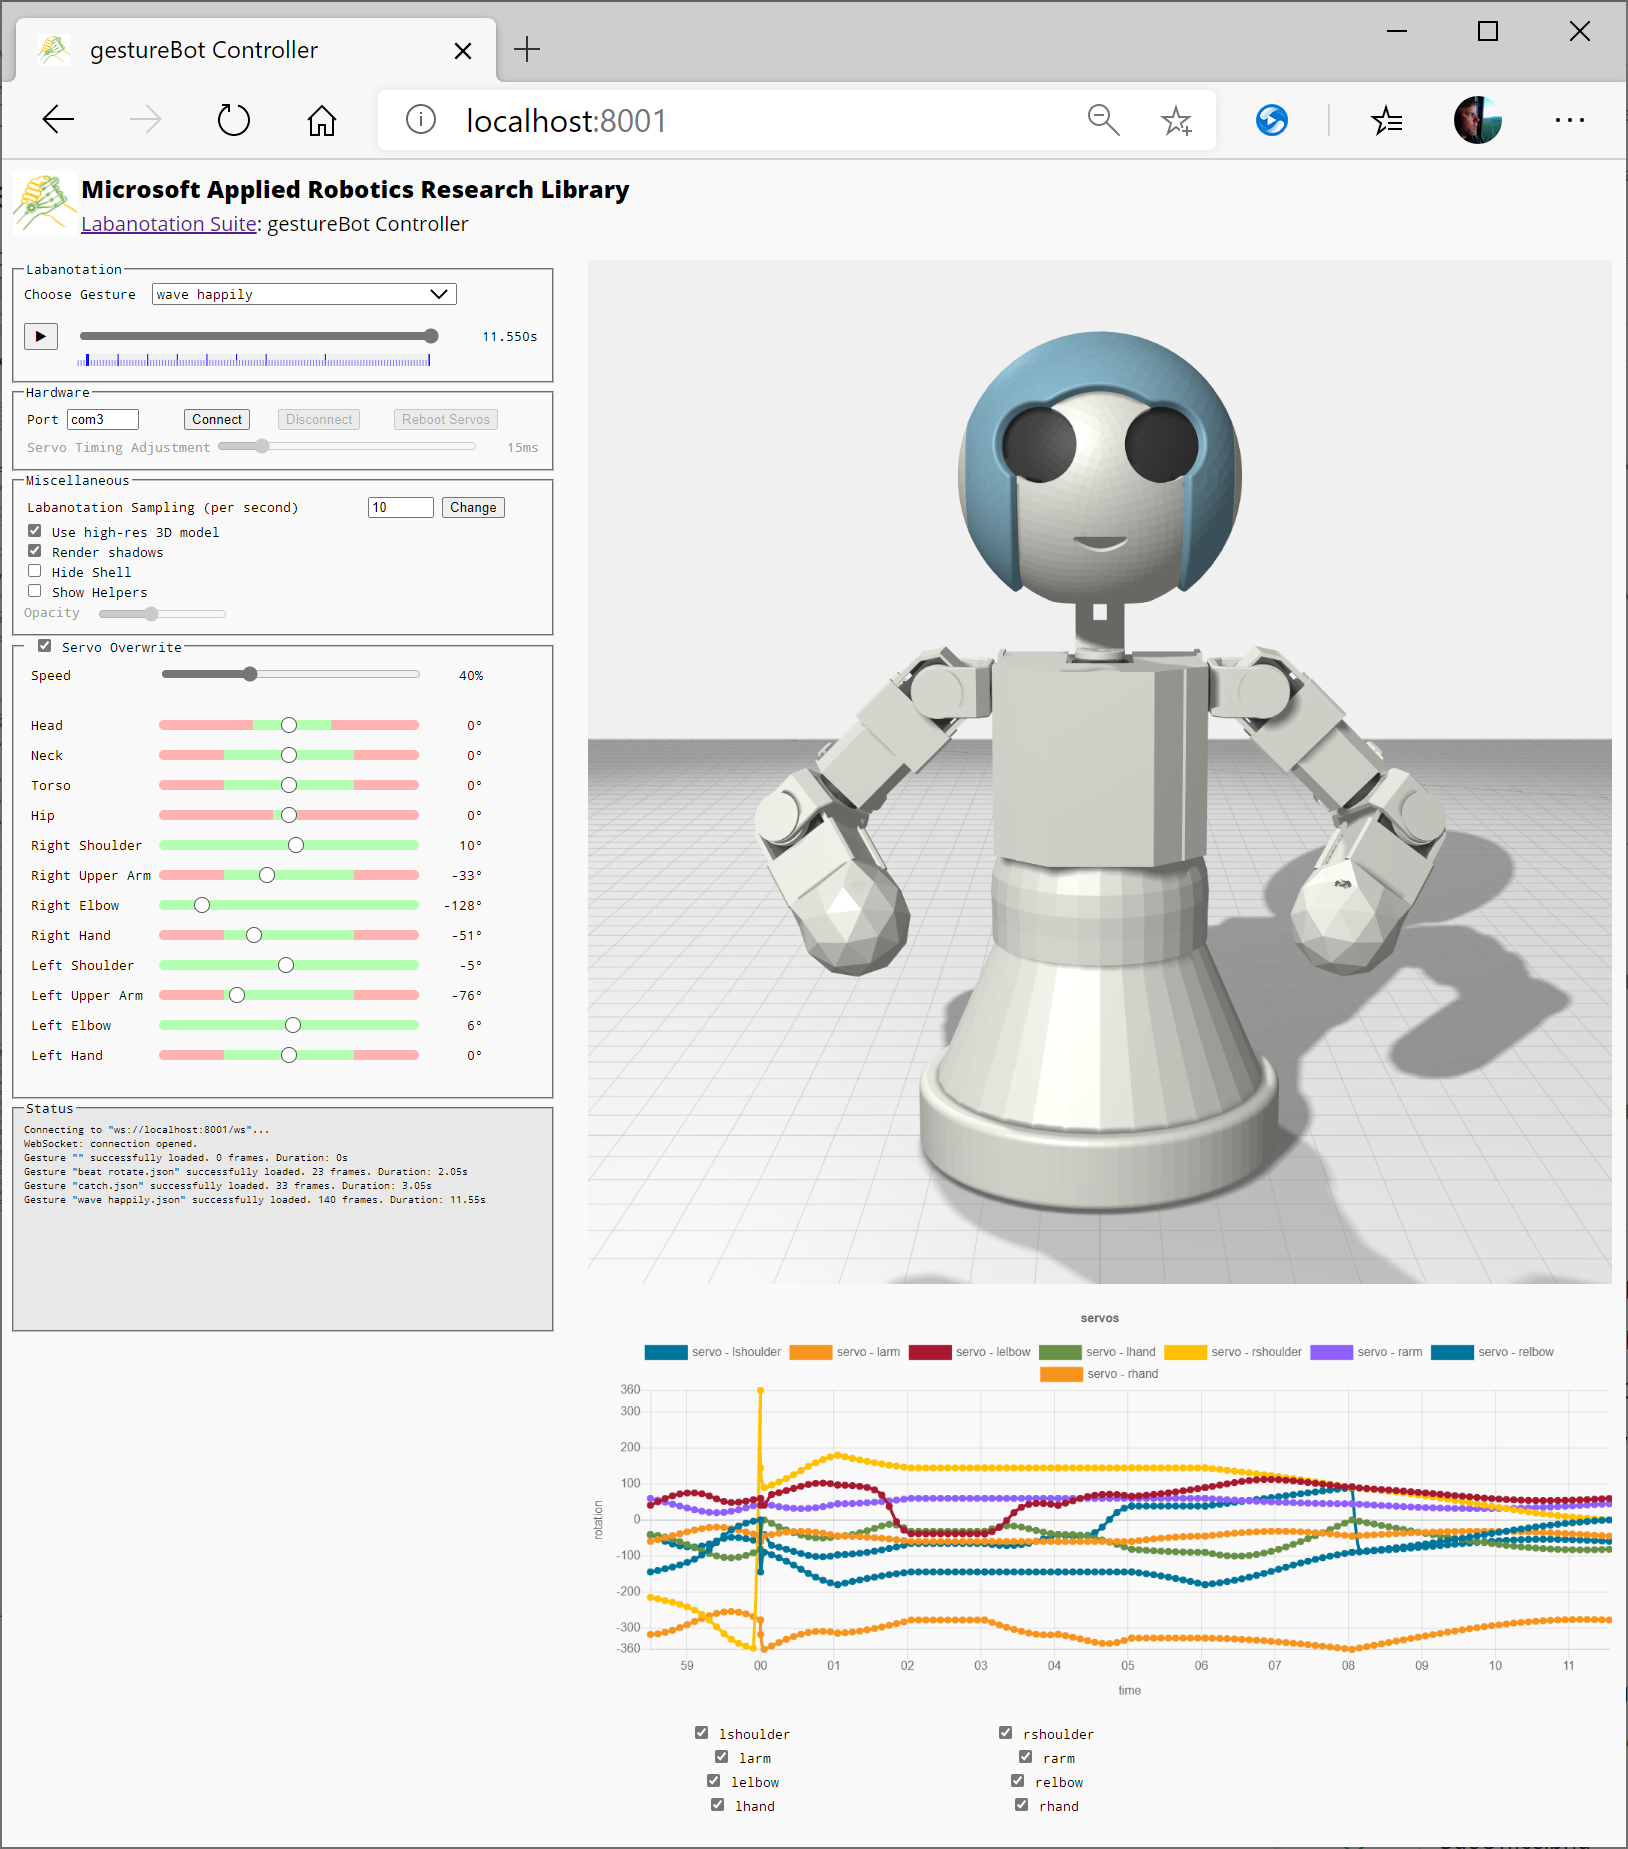 Official project image · MIT
Run the gesture applications
Finish the body and prepare the completed robot to run the Labanotation applications.
- Finish attaching the body covers
- Set safe servo rotation limits
- Launch and verify the gesture applications
Adapted from the gestureBot Design Kit.
Copyright © Microsoft Corporation. Licensed under the MIT License. Construction content has been summarized and restructured by SauceSnap; Microsoft and Robotis trademarks belong to their owners.
A 2020-era Python stack with a semantic gesture layer.
Read the evidence without leaving SauceSnap.
Open each source preview to inspect the captured facts and their original locations. The external page is available only as a deliberate final step.
1gestureBot Design KitMicrosoft Applied Robotics Research · 7 captured factsPreview
SauceSnap keeps the useful evidence here so you can continue reading the case without leaving the page.
- What is the gestureBotMimics human gesturesreported
- System Modules > Gesture EngineGoogle word2vecreported
- System Modules > Real and Simulated gestureBotsPhysical and browser-hosted virtual robot controlreported
- System Modules > Labanotation ControllerLabanotation Controllerreported
- System Modules > gestureBot ControllergestureBot Controllerreported
- Introduction350reported
- Introductionfalsereported
2gestureBot Construction GuideMicrosoft Applied Robotics Research · 4 captured factsPreview
SauceSnap keeps the useful evidence here so you can continue reading the case without leaving the page.
- Parts List > Purchased Parts > P112 Robotis XL-320 servo motorsreported
- Parts List > Purchased Parts > P3Robotis OpenCM9.04creported
- Parts List > Purchased Parts > P2Powered USB3 hubreported
- Parts List > 3D Printed Parts3D-printable body-part models and assembly instructionsreported
3Gesture Service System SampleMicrosoft Applied Robotics Research · 2 captured factsPreview
SauceSnap keeps the useful evidence here so you can continue reading the case without leaving the page.
- Software Installation > Tested System SoftwarePython 3.7.8reported
- Software Installation > Python Modulesdynamixel_sdk 3.7.31reported
4gestureBot Design Kit MIT LicenseMicrosoft Corporation · 1 captured factsPreview
SauceSnap keeps the useful evidence here so you can continue reading the case without leaving the page.
- Repository LICENSEMIT Licenseverified